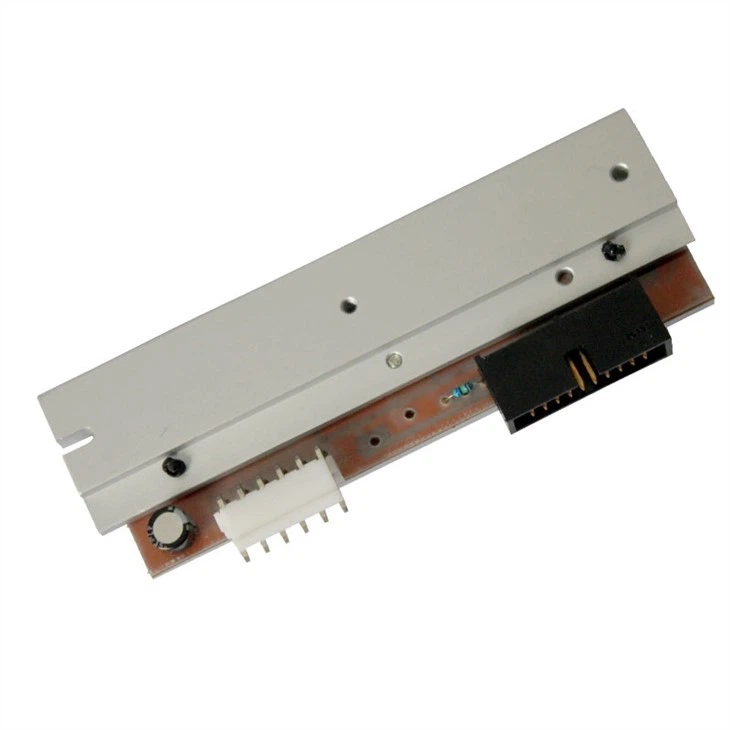
How to install the print head
Before replacing the print head, you need to prepare some tools and materials, including a new print head, screwdriver, cotton swab, alcohol, etc. Make sure the printer is turned off and the power cord is unplugged.
1. Use a screwdriver to gently disassemble the printer body and open the printer. Find where the print head is, being careful not to touch other parts.
2. Remove the old print head from the printer. During the disassembly process, be careful not to use excessive force to avoid damaging other components. You can use a cotton swab dipped in alcohol to clean away dust and dirt from around the print head.
3. Install the new print head into the printer, making sure to align it correctly with other parts of the printer, and use a screwdriver to secure it. Use the cotton swab again to clean away any dust and dirt around the print head.
4. After the installation is completed, you need to cover the printer cover, plug in the power cord, and turn on the printer. Perform a test print to make sure the printhead is installed correctly. If the print quality is good, the print head is installed successfully. When replacing the print head, be careful not to use excessive force to avoid damaging other components. Cotton swabs need to be used to clean dust and dirt around the print head to ensure print quality.


